Welcome to week 17 of The Blocks From the Past Quilt Along!
(If you would like to post this button to your blog, feel free to use this graphic and here is the link address to use with it- http://myquiltdiet.blogspot.com/2015/01/blocks-from-past-qal.html)
This week we are staying right HERE for pages 40, 41, & 77.
***General warning- be sure to use SCANT 1/4" seam allowances.
First up is Twinkling Star on page 41.
For this block, I went for three shades of blue and a lighter shade of grey.
First up, the flying geese.
You will need to draw a diagonal line as shown to make your flying geese. I love my chalk-o liner by Clover. I also prefer to sew just on the top right side of this line. It gives you a tiny bit larger flying geese instead of the dreadful "too small" flying geese. ;)
I don't bother to mark my lines anymore. I just match up the top corner with the needle and then match up the bottom corner with the groove in my extension table. I have two groves cut, one for each of my needle positions. I have seen quilters use tape or a sharpie line. It saves a ton of time when doing a million flying geese, or hst's or sewing binding together :)
I love chain piecing :)
Chop off your extra.
and press.
Now, add your second bit of navy. Repeat as with the first square.
Now you have 4 flying geese :)
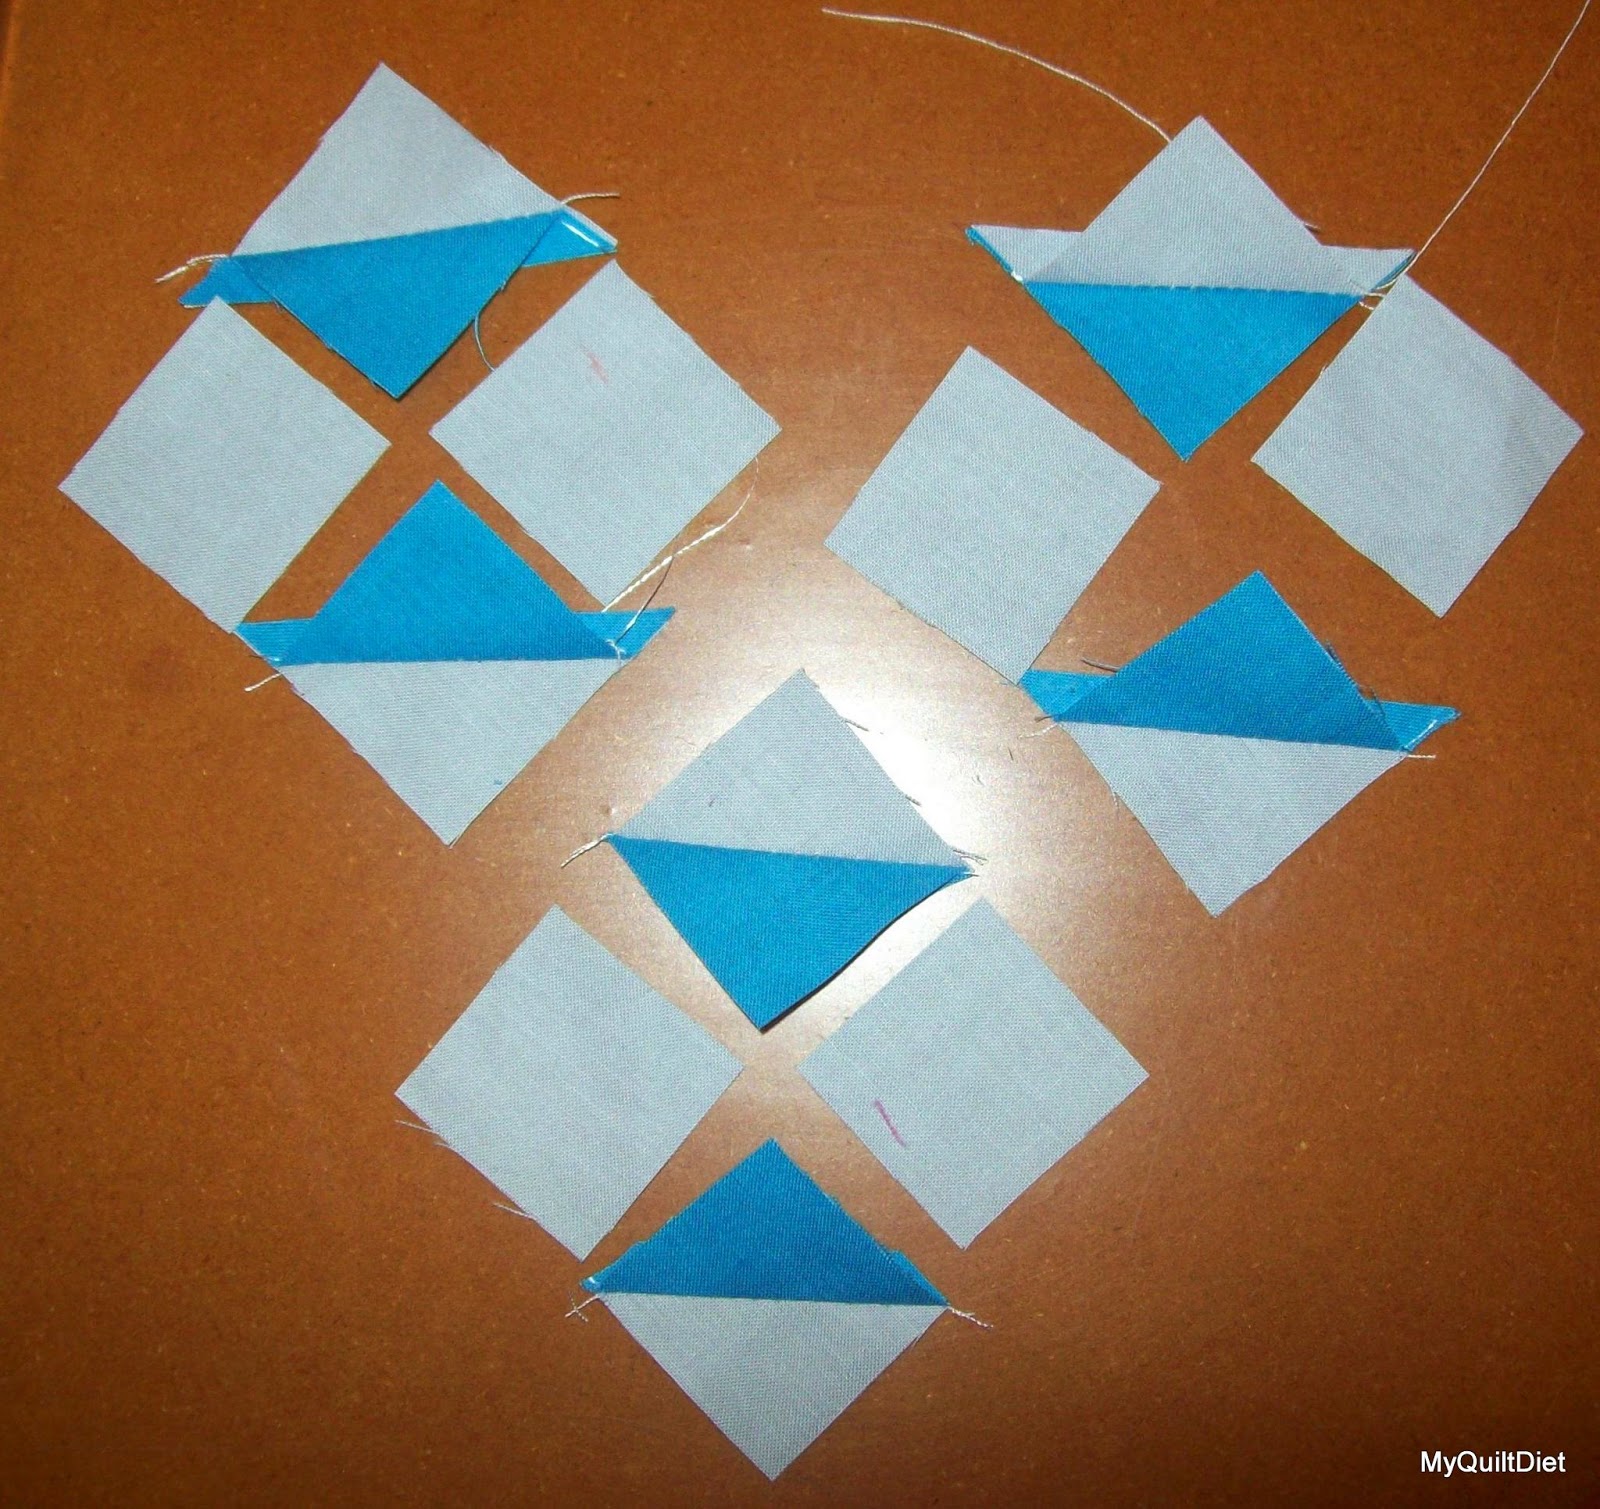
Now for your little half square triangles. I am not a fan of her method, but it worked just fine :)
(I recommend NOT cutting the squares into triangles and make HST's the usual way, drawing the line and sewing on each side of the line then cutting apart and squaring up)
Be careful not to stretch the bias edge.
I would recommend squaring these up.
Don't forget to cut off your dog ears.
keep piecing
press press press
Now sew up your block.
Presto! Twinkling Star is finito!
This block turned out a bit skitty whompas, but I can live with it!
This next block, The BIG T, page 40, is very straight forward and quick.
Follow Marie's directions. (see the flying geese above if needed)
I recommend squaring up your hst's and flying geese.
And lastly Honeysuckle from page 77
I use a template free back basting needle turn applique. HERE is an awesome tutorial of the method from Tropical Applique. HERE is another super slick tutorial by Applique Addict.
Using a pressing bar, I made bias tubes for the stems.
I tried to use a template method for the needle turn applique on the flowers, but it was an epic fail! The seam allowance was WAY too small!
I decided to just use Steam a Seam for a raw edge applique on the flowers. I will likely go back and blanket stitch the raw edges of the flowers. I used template needle turn for the leaves and the flower base things ;)
I really love this block!
Click HERE to go back to the Schedule Post. Be sure to tag your progress on Instagram with #BFTPqal. You can also join our Flickr group HERE.


No comments:
Post a Comment
Thanks for leaving your thoughts! I LOVE to hear from you :) I cherish every word :) I read ALL of your comments and try to reply to every single one.... but it sometimes takes me a few days xoxo
***If I don't get back to you, it is likely that you are a "No Reply Blogger" :( ***