Friday, February 13, 2015

Pixelated (super ugly) Quilt

So what do you do when you wake up SUPER EARLY on the only day you get to sleep in??


Well, my youngest son and I decided to make a quilt :)


A (long) while back, a quilting friend, Suzanne, gave me a pile of old forsaken bee blocks that she was tired of feeling guilty about ;)


130, alternating nine patches.  Tone on tone white and SUPER ugly 2" charms.  
1170 two inch squares of (icky) fabric goodness!


(Saturday Doughnut Sustenance.  Will always eats the BIG one!)


Will paired and pressed the blocks and rows for me.  He decided he liked the quilt so much,
 that he claimed it for himself :D


For quilting, I decided to do a simple crosshatch.


For binding, I used leftover bits of binding.  Hand stitching binding is my favorite part!


Will was so happy that the binding was finished in time for him to sleep with it.


Ta Da!


This is my favorite nine patch.


The fabrics vary wildly.


I actually made a dress for myself 20 years ago out of this purple calico ;)


Look at our cute little family forever ago.  
(These two girls of mine are now mama's of their own beautiful babies!)


I really liked this checkerboard tone on tone.


Will likes this jelly bean novelty print the best.


Dalmatians even made an appearance.


Here is the best shot of the quilting I could get ;)


I got a little verbose on the label, but I figured the story needed to be told for posterity.


Will's only request for the minky was that it was flat and had no bubbles
 (he didn't want the dimpled minky)


My proud son with his treasure.


I love the binding.

Wednesday, February 11, 2015

Orange Peel "Don't Hate Me Because I'm Skinny" Quilt

A while back I won a fat eight bundle of Emma Jean Jansen's delicious collection Terra Australis.


The colors are FABULOUS and I just LOVE the uniquely Australian details in the design.


I knew right away that I wanted to make an orange peel quilt out of it.


I started the quilt last summer, but finally got around to quilting it last week :)


Baby Olivia even tried to get me to quit working on it and play with her!


Several months ago, I sketched out a quilting pattern that I wanted.  It actually worked!!!  I love it and am so proud of myself!


It didn't take nearly as long as I thought to quilt it :)


Ta da!


For binding, I went with some half moon fabric that I have been saving for the perfect binding :)


I love Half Moon!


Hand binding is the BEST!!!


I had two extra blocks left over, so I used one for a label.

The "Don't hate me because I'm skinny," has to do with the fact that my orange peels are so skinny ;)  I designed them that way, and I love them, even though they aren't the traditional style ;D


This is my new favorite quilt :)


I am going to sleep under it tonight!


These feathers turned out so much better than I thought they would.


Life is good when what is in your mind actually comes out perfectly in the real world!

Monday, February 9, 2015

#BFTPqal Week 6

Welcome to week 6 of The Blocks From the Past Quilt Along!

(If you would like to post this button to your blog, feel free to use this graphic and here is the link address to use with it- http://myquiltdiet.blogspot.com/2015/01/blocks-from-past-qal.html)


This week Machelle is guest posting right here on my blog today for pages 15,16,& 63.

From Machelle:

"Here are my fabric choices for the quilt along."


"Jacob's Ladder.  I used the book instructions! Page 15"


"The Churn Dash Block. I used the book instructions!  Page 16"


"Pomegranate Block. The fabric on the right will be the flower. I forgot my freezer paper at Bryce! Page 63"


Click HERE to go back to the Schedule Post. Be sure to tag your progress on Instagram with #BFTPqal.  You can also join our Flickr group HERE.

Friday, February 6, 2015

Baby Update

These pictures were taken a few weeks ago.
(I love these babies so much!)


Wednesday, February 4, 2015

Red & White Modern Block Swap TOP IS FINISHED!

After much wailing and gnashing of teeth, the Red & White Modern Block Swap 
quilt top is finished!

YIPPEE!!!


I am 100% in love with this quilt!  So much so, that I am actually going to pay to have it quilted!


For the backing, I chose this cute Riley Blake red polka dot, and a funky pattern for the bias binding!


Here is a picture of the top before I added the borders (and swapped 6 blocks around).

I had to promise I would quilt swapping blocks around after I had it all sewn up.  I may still swap two more.  Just don't tell Konda!

Monday, February 2, 2015

#BFTPqal Week 5

Welcome to week 5 of The Blocks From the Past Quilt Along!

(If you would like to post this button to your blog, feel free to use this graphic and here is the link address to use with it- http://myquiltdiet.blogspot.com/2015/01/blocks-from-past-qal.html)


This week we are going to stay right HERE for pages 13 (Carrie Nation), 14 (Duck and Duckings), & 62 (Eagle).

So, I have to admit, I wanted to do the Eagle applique myself because it was so DARN funky! In my opinion, (and the opinion of everyone I know), it is the UGLIEST block in the whole quilt. I NEEDED TO HAVE THE BLOCK FOR MYSELF! Could I make the Eagle cool??  
Nope, and I love it all the more for it's oddness ;D  

I used the template free back basting needle turn applique method.  HERE is an awesome tutorial of the method from Tropical Applique.  HERE is another super slick tutorial by Applique Addict.

First up is the Eagle applique from page 62.


I love to use gold unwaxed quilting thread for my basting stitches.  
I also use a size 8 straw needle.


This was a little trickier to applique than other projects I have done.  I suppose it is because of the small size.


Despite it's strange (and dorky) nature, I am really happy with my Eagle.


Remember this trick when pressing your applique:  Place a soft cotton towel on your ironing board.  (I fold it so it is double thickness.)  Now place your applique right side down on the towel.  Press from the back.  The towel keeps you from ironing the applique flat.  It lets the applique keep a little three dimentional-ness to it ;)

***Also, you may want to use the freezer paper template for your needle turn applique.  These pieces are so small and the freezer paper template makes your curves a lot more smooth.

Now for the Carrie Nation and Duck & Ducking Blocks I followed the directions exactly.

Note- Be sure to use a SCANT quarter inch seam allowance. These measurements do not leave any room for generosity in your seams.

Carrie Nation page 13


I love how the author had us use strip piecing.


Lickety split and shazam!


I love my little chain pieced bunting :)


Pressed open checker boards.
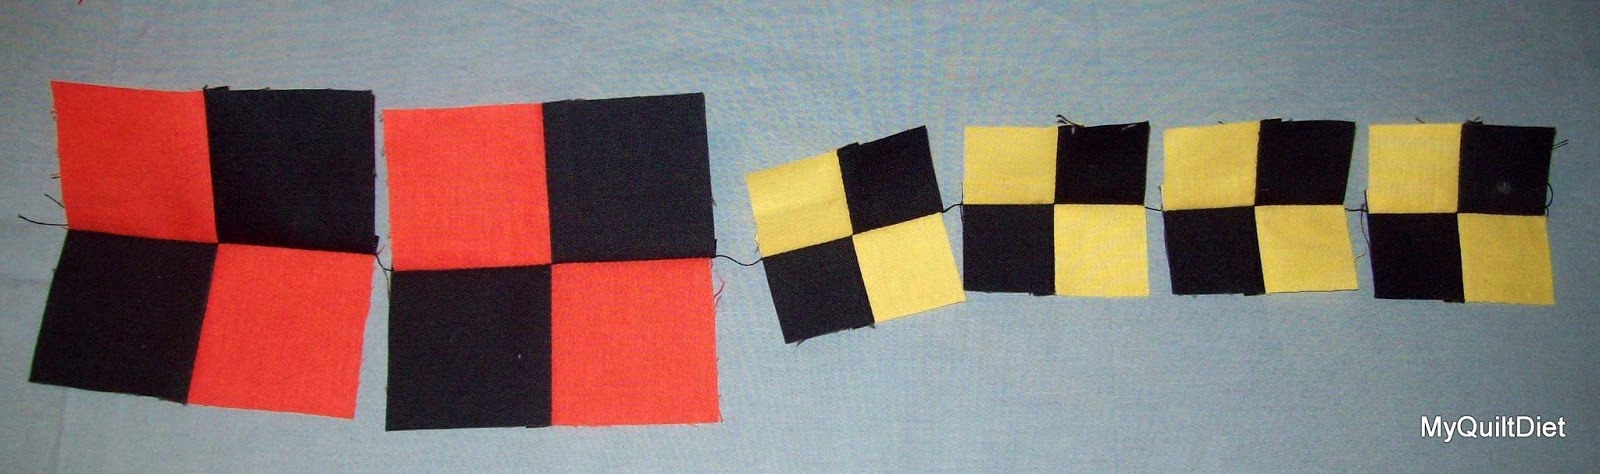


Now to sew them all up :)


Don't mix them up :)


Almost there!


Ta da!  Carrie Nation!

Next up, Duck and Duckings page 14

There was one omission from the cutting instructions.

Under the red and the tan cutting instruction, the last cutting says to "cut one 1-11/16" strip"  That strip needs to be at least 8" long :)

Also, this block ended up 1/4" too small for me :(  I usually do not have a variance this large when I make blocks.  My quarter inch is pretty exact, if I do say so myself ;)  BE SURE TO USE A VERY SCANT 1/4' SEAM ALLOWANCE!


For this block I chose to have a lavender duck and purple ducklings :)


I have not used this method before, but it went 
together better than I thought it would.


I only cut off my dog ears after the seam was sewn. (I hope that makes sense)


I love to chain piece my blocks in rows.


And then sew the rows.


Whoop whoop!  Three blocks sewn!


Click HERE to go back to the Schedule Post. Be sure to tag your progress on Instagram with #BFTPqal.  You can also join our Flickr group HERE.