For our guilds challenge (HERE) I decided to make a blown up scrappy version of the SawDash block (tutorial HERE).

It measures 40" square.
Please enjoy my grandson model.

You will need:
1- 10.5" square of the solid background fabric (center of churn dash)
4- 5.5" squares of print fabric (for the outside corners)
12- 6.5" squares of the solid background fabric, cut in half, diagonally
2- 12" squares of the solid background fabric, cut in half, diagonally
4- 5.5" x 10.5" rectangles of the solid background fabric
4- 5.5" x 10.5" rectangles of the scrappy print fabric
24 large scraps that will be enough for the border hst's
4 large scraps that will be big enough for the churn dash hst's
(Please see the bottom for pattern variation)

The size for the inside, churn dash blocks are 10.5" (10" finished).
The outside/border HST's measure at 5.5" (5" finished).

Because I was using scraps, I decided to paper piece the half square triangles.

I cut four papers 12" square and glued the large solid triangles to one half of the papers.
I cut twenty four 6.5" paper squares and glues the smaller solid triangles one half of the paper.

(I use washable school glue sticks)

Next I picked a scrap of printed fabric that was large enough to cover the solid triangle.


Then I sewed a 1/4" seam.

Pressed it open...

(Paper piecing also makes it really easy to fussy cut or use directional prints.)

And then trimmed it to the desired size, either 5.5" or 10.5"

I used the diagonal line on the square ruler to line up the seam with.

Of course, you can make your hst's using any method you like. :)

I just found that with the scrappy version I was going for,
I figured this method would work the best for me ;)

(For the scrappy prints, I just dug through my scrap bins and pulled out all of the
colors I wanted to use.)

This quilt is for my daughters new nephew, Maximus!

Baby Benito needed to try it out for his new cousin.

We decided to use tricot for the backing fabric.

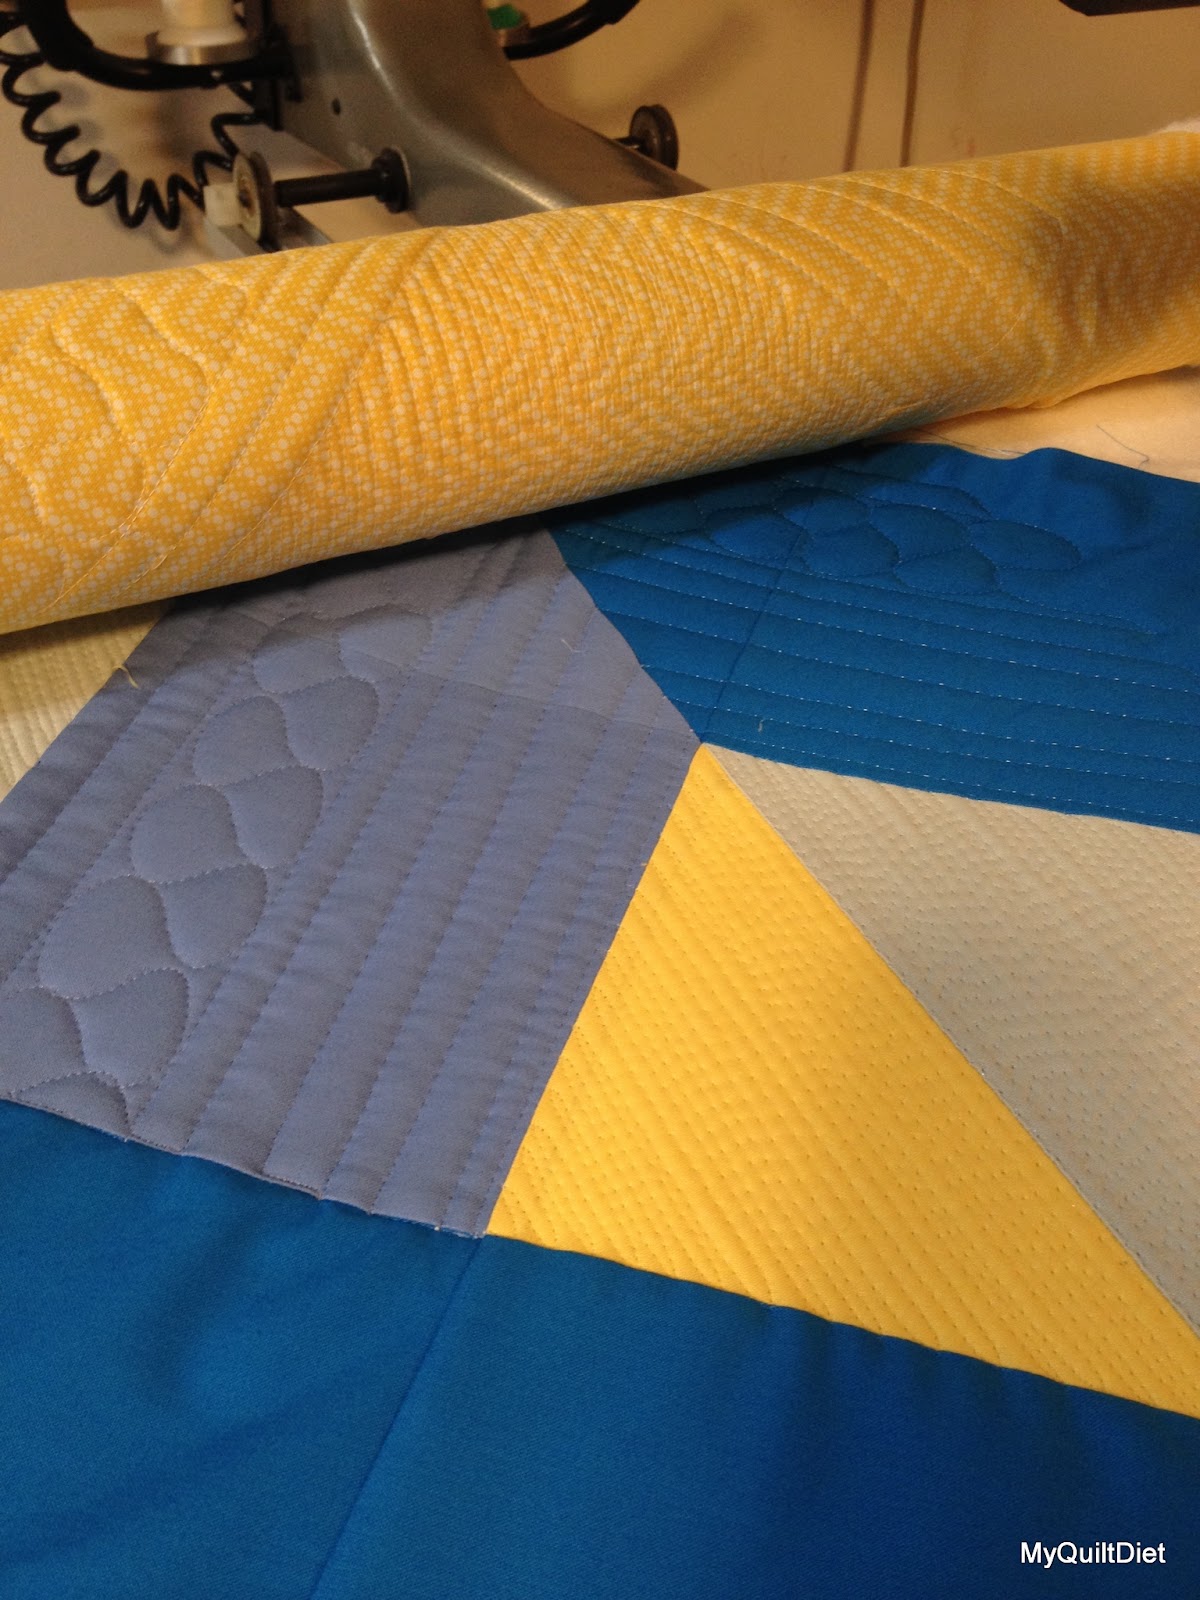
I did a fun custom quilting pattern with an "M" in the middle for baby Max.

I went for a matching binding because the fabrics on the front were SO crazy :)

I love this sweet little blankie.
Scrappy quilts are so wonderful in how they bring back so many memories of quilts past!

To make the variation below you only need to change two things when cutting out:
1- 10.5" square of the scrappy print fabric (center of churn dash)
4- 5.5" squares of the solid background fabric (for the outside corners)

Be sure to tag your projects on Instagram with the hashtag #SawDash and #MAXIMUSsawdash #MyQuiltDiet