Sorry for the delay in getting this post corrected.
There are enough photos, that you might be able to tell what you are supposed to be doing all on your own ;)
It't time to make all of the big pockets :)
Grab your 3 fat quarters that you have set aside for the large pockets.

You may trim off the selvage or leave it. I leave it on ;)

Go a head and grab the two smaller pockets too.
Please take all of 5 your pockets (two small, three big)

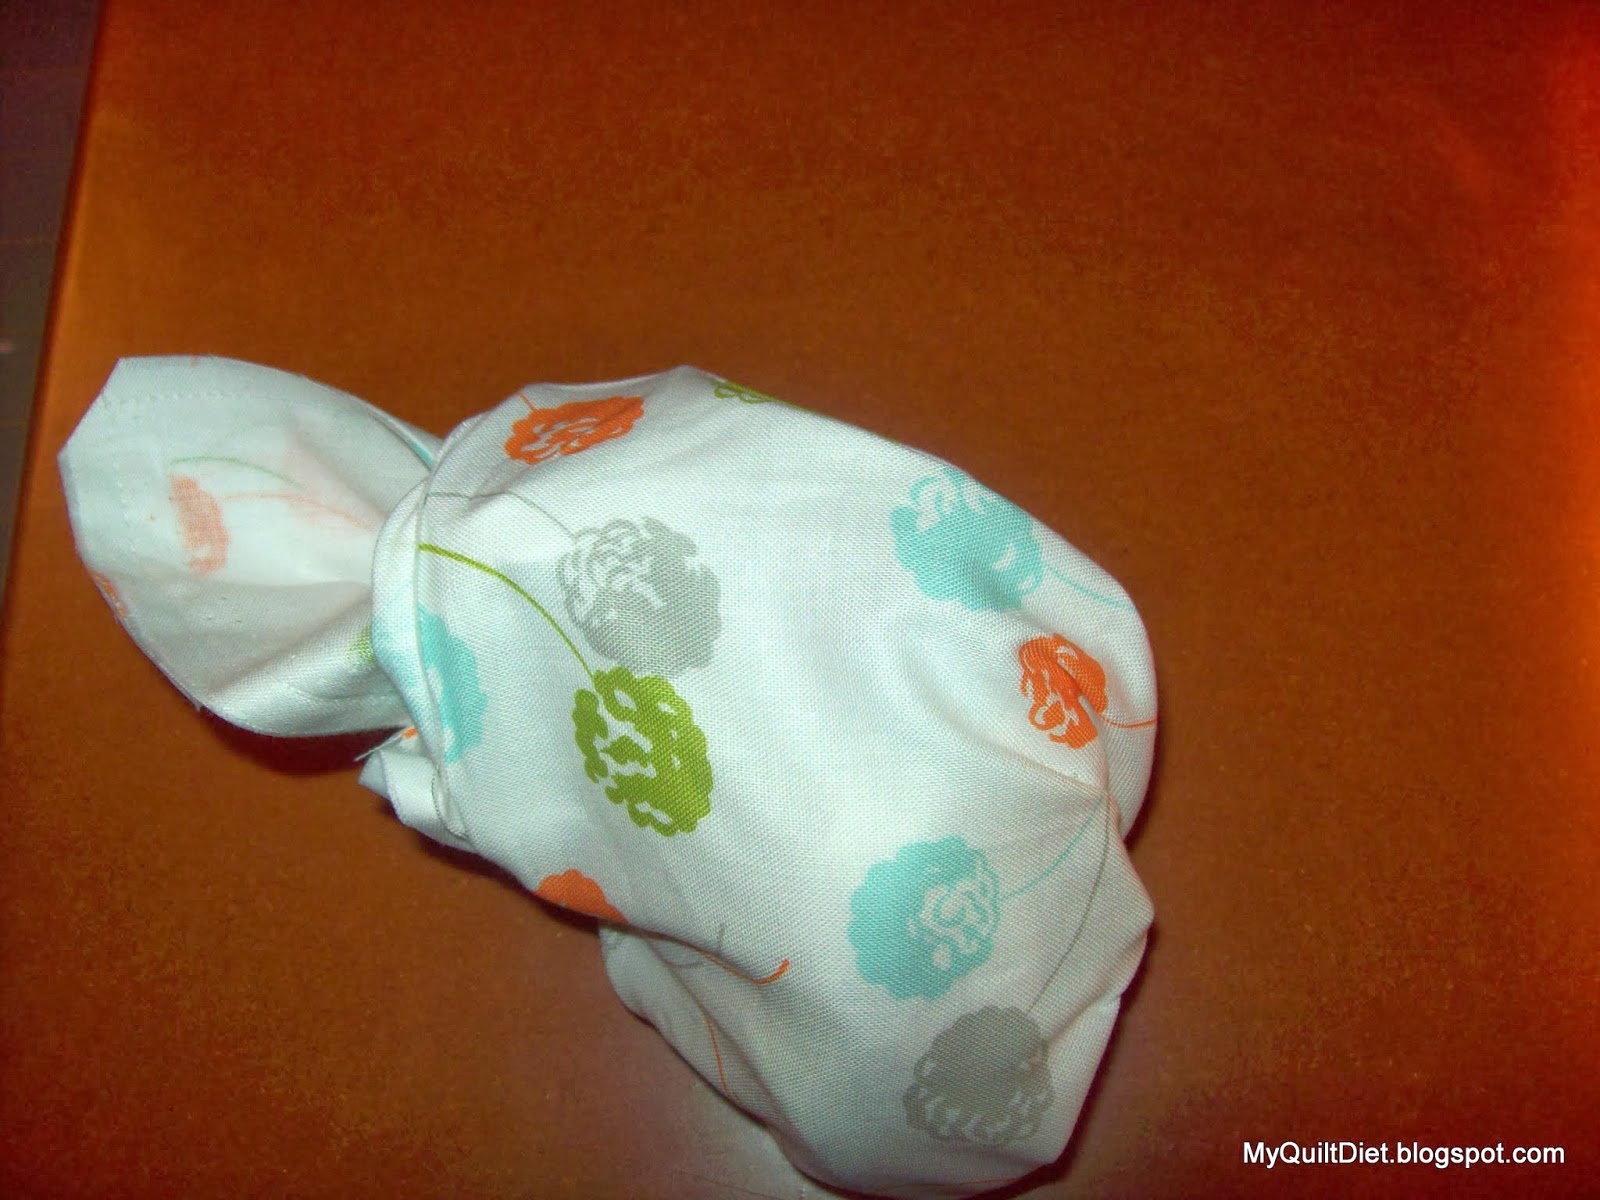
Press you 8x5 and 7x10.5 small pockets, wrong sides together in half, like shown above,

Press your three large pockets in half, wrong sides together.
Open them and then press the coordinating sized pellon to one side of the pocket, right up to the crease.


Now, time to create each pocket. You will use the same method for all five pockets. (Please note, there is not pellon in the two small pockets)
To sew, take one pocket, and put it right sides together.

Sew up, all three sides, leaving a 3-4" opening for turning.

Trim the corners, close to the seam.

Now, turn your pocket.
I like to finger press the un-sewn opening.


I don't bother to sew this opening up. (It will be sewn up during the top stitching process.

Press all of your sewn pockets nicely :)


Now to place the pockets on the front exterior of the bag (they will be under the flap)

This placement is a bit tricky.... you need to put the [smaller of the three large pockets] centered on the front exterior about 4.5" inches from the top raw edge. One it is centered, pin the bottom edges, leaving the top edges free to fold back. Now you need to place the two little pockets so that they will be under the large pocket. (I am sorry the small pockets are the same fabric as some of the bag exterior :(

Pin down the small pockets, and sew around the three edges to make a pocket. The two small pockets will meet in the middle.


Now, place the larger pocket back up, pin around the edges and then sew around the three sides to form a pocket.


For the interior pockets, place the top edge of the pocket, ~3" down from the top raw edge of the interior lining.


Sew around the two sides and the bottom to form your large pockets.

The one of the pockets that is NOT on the side with the zipper, is going to be made into a divided pocket.

I made my divided pocket larger on one side for slippers (~10" wide) and the smaller one, for stockings (~7" wide).

Decide where you want your dividing line, make a mark at the top edge of the pocket and a matching one at the bottom edge of the pocket. Now top stitch a seam to create a pocket.

***Please let me know if something is unclear... I still have Influenza brain :/****
On Instagram use #MQDtemplebagQAL and #MyQuiltDiet to share your progress:)
Check the schedule for the QAL HERE. Visit all post's tagged Temple Bag Qal HERE
**** As a special side note, if you live anywhere close to Payson, Utah, we will be doing this project together on the fourth Thursday of January. Please message me if you would like information about coming to sew with us :) No creepy murderers, please ;D
***One of my quilty BFF's is an Embroidery Guru! She has templates for many of the LDS temples :) She will embroider an LDS temple for your bag, if you'd like :) It is $5 if she already has the template, and $10 if she needs to order it. Please leave me a comment, if you are interested. Be sure that you are not a "no reply blogger" or I cannot get your info to her :( If you are not sure if you are a "no reply blogger" please include your email in your comment. One hint that you might be a "no reply blogger" is if I never reply to your comments :(:::.....

No comments:
Post a Comment
Thanks for leaving your thoughts! I LOVE to hear from you :) I cherish every word :) I read ALL of your comments and try to reply to every single one.... but it sometimes takes me a few days xoxo
***If I don't get back to you, it is likely that you are a "No Reply Blogger" :( ***