A few weeks ago I FINALLY made the quilt for our AWESOME kindergarten teacher Chrisann. I blogged about her quilt HERE. I was inspired by THIS blog post. The original tute was for a pillow so I needed to make some modifications :)

My sister Corrine is expecting a baby at the end of February so the Friday before Christmas my sister Alyson and I went shopping for fabric to make Corrine's baby a quilt, of course!

Here is the cute pile of fabric we chose :)

First I cut two or three 2.5" by wof strips of each fabric. For this baby quilt, I cut 24 strips total.

Pair them up. Contrast is good :) You will need 12 strip sets. Try to not repeat fabric pairs.
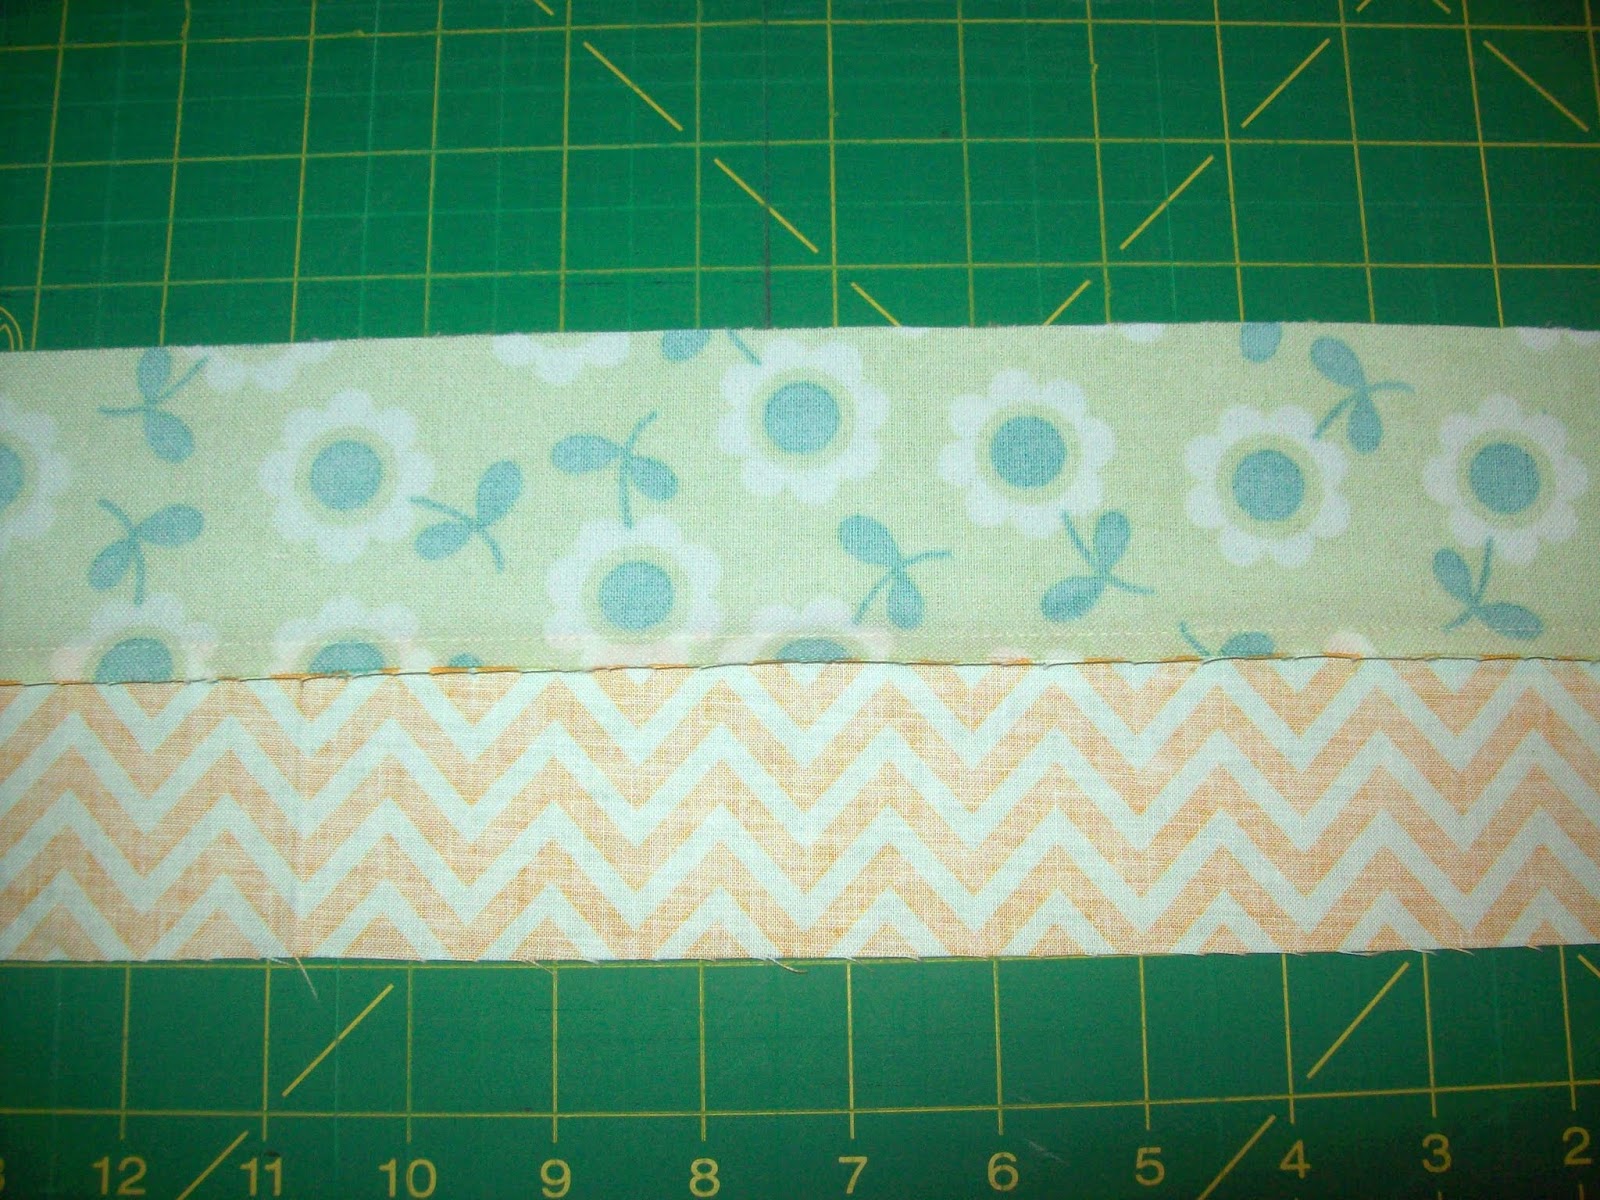
Press the seam to one side. Line up the strip set on your cutting mat.

Now, here is where I depart from the original tute. To make the 60 degree triangles you may buy a 60 degree triangle OR you may use the 60 degree line on your ruler. I lined up the 60 degree line on my 1" line. If you look HARD, you can see it..sort of ;)

Trim.

Flip the ruler over, line up the 60 degree line, give yourself a 1/4" space at the top of your triangle....

....and trim :) Continue along your strip. You should get thirteen 60 degree triangles (one spare).

From each strip set, you will get two opposite hexagons.
Next you get to lay out your quilt top :) (I forgot to take a picture of the lay out :( ..but I more than make up for it later on ;)

Here is the pile of the rows waiting to be sewn.
To sew this quilt up, it is done by row, not by hexy (different than the original tutorial). I found this method a bit easier. The 60 degree triangle is super easy to sew together. They line up perfectly :)
One little hint, I have found that it is best to press each seam right after each triangle is sewn onto the row. Alternate pressing directions with each row. Because there are quite a few seams that converge, pressing as you go makes everything sew together much nicer :) It's worth the extra time!

Another piecing/pressing note- As you go across piecing the rows, line up the seam between the center hexy and the outer hexy.


To do this, I press the middle triangles seam the opposite direction of the way it was originally pressed.

Sew and sew and sew :)

Four rows sewn.

Six rows.

DOnE!!

Now for basting the quilt :) I REALLY like basting baby quilts. I use 505 spray. Super slick!!!

For the quilting, I did a flower fmq.

The backing is a super soft flannel.

This is an obscure backwards picture of my niece to be's name :)

Next comes the binding.

Because I left the edges of the hexies on, I needed to make my binding on the bias.

I really like to use bobby pins for my binding clips. They are cheap and ALL over my girl ridden house ;D

Ta-Da!!! The binding is finished :)

I am SUPER happy with how the pinked edges look.


It's adorable! And I really like the pinked edges - lots of extra work but worth it!
ReplyDeleteThat was a great tutorial! thanks for sharing! and a very darling quilt too. I've not seen a hexagon quilt left without a border. It's really cool!
ReplyDeletehugZ,
annie
You made it look so easy - the quilt is great and the pinked edge a really special touch.
ReplyDeleteWOW! You make it look so simple, but I think I would pull my hair out trying to do that. It's adorable!
ReplyDeleteThis pattern is one of my favorite ones I have done. It's fun and looks so impressive when finished. You did a great job!
ReplyDeleteThat looks like a fun challenge!
ReplyDeleteThanks for the tutorial, it's a cute quilt. I also use bobby pins for my binding clips because its what I had on hand ;)
ReplyDeleteOh My Gosh! I love this quilt. Thanks for the tutorial. I think I will try it. How do you do the corners on the pinked hexie edges since they aren't a 90 corner?
ReplyDeleteIt's very pretty, I love that type of binding. :)
ReplyDelete